
Start With a Concept
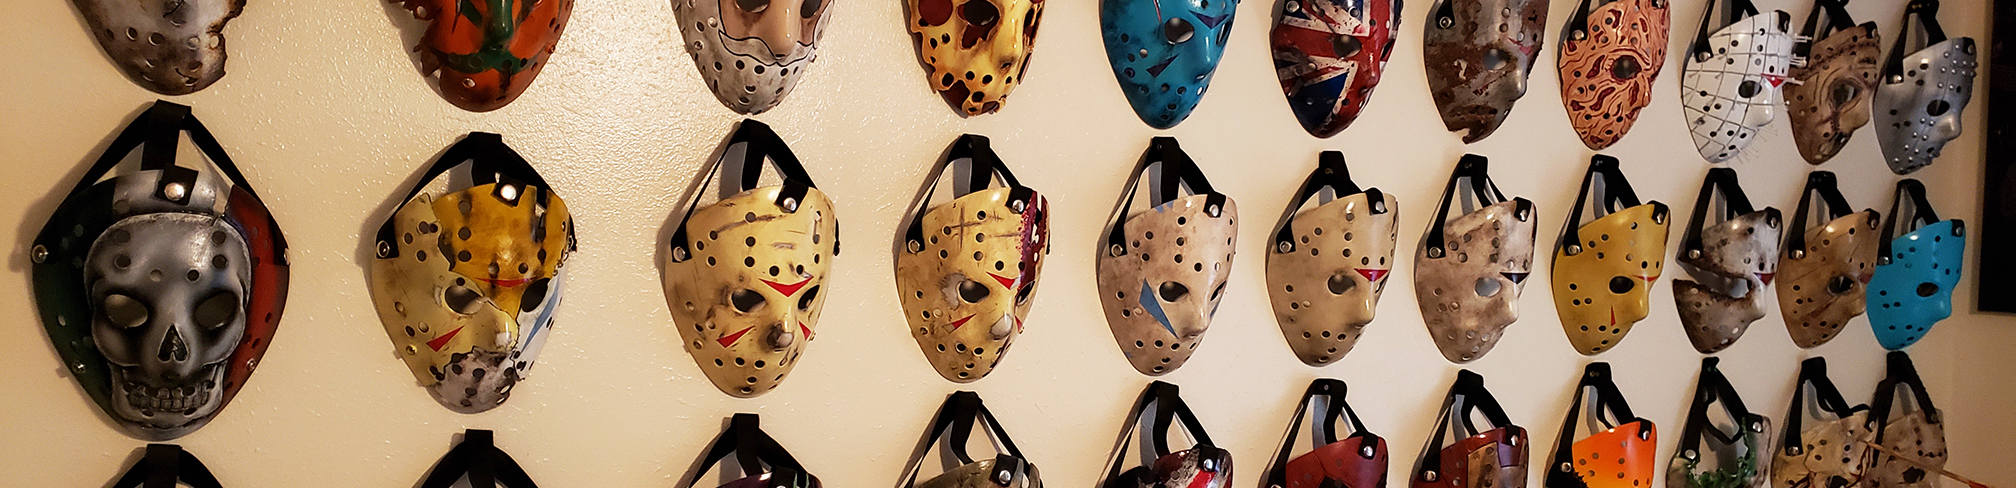
So you want to make your own Jason Voorhees style hockey mask… you’re in the right place! My name is Garrett aka Big Hush and I found success on YouTube through a series of how-to videos showing exactly how I create Friday the 13th style masks. Whether you want to make a movie style mask like the 2009 Friday the 13th Remake, Friday the 13th Part VIII: Jason Takes Manhattan, Freddy vs Jason or Jason X masks, or something more unique like the American Slasher, Iron Man Jason, Woodgrain Jason or Lake Bottom Jason… the process is very similar for all of them. I will outline the broad points, but feel free to watch some of my videos on YouTube for over 90 detailed walk-throughs!
Choose & Prep Your Blank
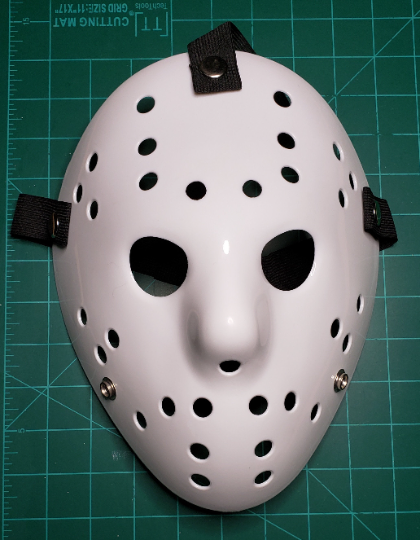
Every mask has to start with a blank! Or at least a mask that you want to convert to something of your own, like the ones at Halloween Stores. For high quality, screen-accurate blank Jason masks I highly recommend www.JDFStudios.com. He supplies everything you’ll need from blank masks to straps and vinyl chevrons (the triangles). If you’d rather save some money and don’t mind that your mask doesn’t have the precision of a screen-accurate mold, you’ll have a lot of fun with blanks from Ebay or Amazon. I personally have purchased hundreds of blank masks from this Ebay seller over the years. I’ve also tested these masks on Amazon, and while I don’t prefer them, they’re fine and get the job done as well.
Once you’ve chosen your “canvas”, you’ll need to prep the mask just a little bit. If you purchased the cheap blanks or a pre-cut mask from JDF Studios then you won’t need to do any drilling. However, if you purchased an un-cut blank from JDF Studios you’ll need to drill out all the holes and the eye openings. I recommend a Ryobi drill since I’ve been using one for years. Now you need to sand the mask. This part is very important because it will insure that your paint sticks to the mask and doesn’t easily chip or flake off. You can choose any grit of sandpaper you prefer, but understand that the LOWER the grit (60 for example), the rougher the sandpaper will be and the more it will tear up the plastic. The HIGHER the grit (300 for example) means less damage and a smoother result after sanding. This selection just depends on your technique and desired surface area. I personally use 100 grit sandpaper. Make sure you “sand the shine off” of the entire front of the mask. This might not make sense until you’re holding a blank mask in your hands, but there is typically a shiny non-stick surface, especially with the cheap PVC masks, that needs to be sanded away.
Add Some Damage
Once your entire mask is sanded, use a pencil to mark any damage or cutouts you’d like on the mask. The iconic axe mark above Jason’s left eye is always a good start and depending on your mask concept, that may be the only damage you have to create. Or you might go with something that requires a lot more cutting, like my Friday the 13th Part VII: The New Blood “Splitting” mask. The cheaper blanks can be cut with scissors, a knife, or any other tools you can find, but I highly recommend a Dremel Rotary Tool if you intend on making several masks. This tool will save you a TON of time and damaged fingers. Plus you can use the tool for other projects and things around the house. I also recommend an X-ACTO KNIFE which is a tool I’ve used on every single mask I’ve made. But even without new tools, you can make some good looking damage by using whatever sharp objects you have available. Haha.
Prime & Paint It
The next step is debatable, but I personally like to apply a coat of spray paint primer on the mask. You might ask, “If you sanded the mask and use a paint+primer spray paint for color, then why would you need a base coat of primer?”. That’s a fair question. I’m just paranoid about paint chipping off after I’ve worked hard on a mask, so I do everything I can to make sure the paint sticks. If you feel comfortable skipping the primer step, then SKIP IT. The name of the game in creating your own art work is CREATOR DISCRETION. You do what feels right to you. I’m just telling you how I’VE done it. Also, if you want to protect the snap buttons from paint, I suggest buying a cheap bag of balloons and cutting the stems off of them. Then stretch the stems over the snap buttons. It works like a charm. If you don’t cover the snaps, you can still scrape the paint off later and all will be well.
Now that your mask has been damaged and primed, apply your base coat of spray paint. I’m a big fan of Krylon brand spray paint. Use as many coats as you need to create solid coverage and do it in a LOW HUMIDITY environment if possible. The paint will cooperate much better that way. If you’re making masks from Friday the 13th Part III or Part IV, I recommend Krylon Meringue. You can use a base color of Krylon Almond for most of the other franchise masks, or just stick with White and dirty it up.
Add Some Details
Once your base coat dries, apply the Chevron Decals or paint some on using either acrylic craft paint or spray paint (unless your design concept doesn’t require chevrons, of course). You can get a printable template for each chevron shape from my Etsy shop! Once any chevrons are done, you can either skip to the clear coat for a “clean” mask, or use lots of Brown and Black acrylic craft paint to dirty it up. I love adding dirt and grime to my masks. I use either a rag or a brush to carefully apply some “dirt”, and then use a knife and sandpaper to add distress and scratches to the paint. It’s amazing how much the “dirt” pops if you add damage and don’t just leave it looking painted on. Something to remember while adding these details is that damage and dirt adds so much realism and STORY to your mask. A clean painted Jason mask looks cool, but a dirty/damaged mask makes people ask themselves “What happened? How did that cut, those scratches, that DIRT get there?” This is the goal of aging & weathering a Jason mask.
Finish Up
The final step in the process is PROTECTING YOUR WORK. This is done by applying several coats of clear gloss or clear matte finish. I used to prefer Krylon Clear Gloss spray, which was fine, but Krylon Spray Lacquer has given me much quicker results and a more satisfying shine. I personally love a high shine on my finished masks and I feel it makes them look professional, but I understand why not everyone would prefer it. Again, the choice is up to YOU THE CREATOR and what your vision is for the final result.
Now you’re done! You have your very own custom Friday the 13th Jason mask! It’s hard to stop at just one. The more you make, the more concepts you’ll want to execute and the better your application of techniques and effects will be. This write up obviously isn’t a detailed step-by-step, but it is meant to summarize the process and hopefully encourage you to get to work! Please check out my tutorials below for thorough step-by-step guides and supply resources. PLEASE PRESS THE “LIKE” BUTTON on ANY video you enjoy or find helpful.
Happy mask making! -Hush
 Subscribe to Big Hush